Saturday, August 31, 2013

Clayton - Coming of age!

Clayton Fernandes, born 29 July 1992, a.k.a Chubby Cheeks came of age this July! 

Phew! Finally! lol :) ;)

I met Clayton this January through Meli. We had seen each other before but were never really acquainted. But in the short while that I have known him, its been crazy fun! Hes a good friend and a really fun guy!

It was pretty easy to figure out what to bake for a 21st Birthday - Chocolate J.D Cupcakes. Yes, Jack Daniel cupcakes. After all he was finally allowed to drink legally!

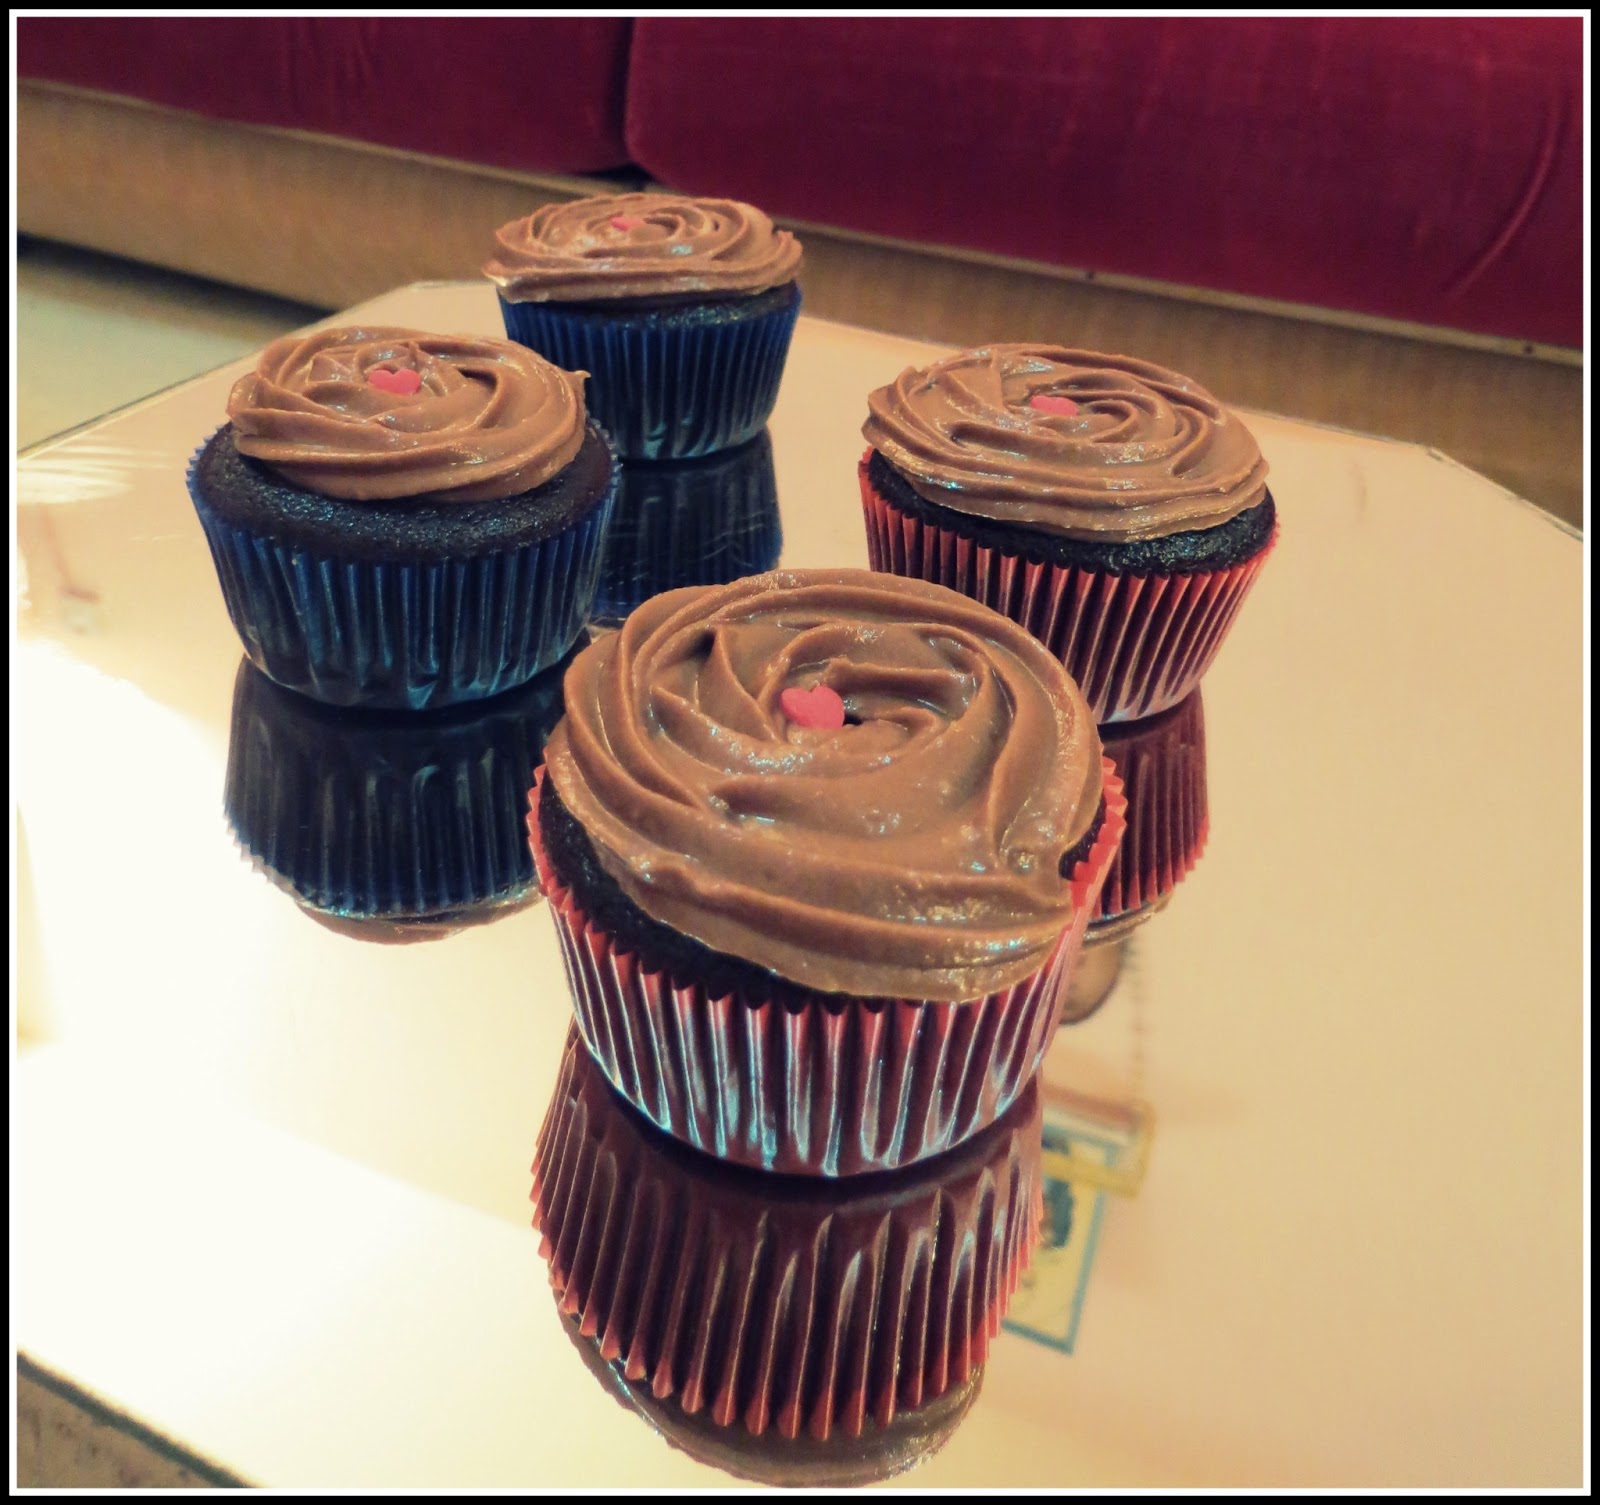
I found this recipe a couple of months ago and kept it in mind for such an occasion. Well, I couldn't just make cupcakes. So I decided to make a Chocolate Cake with a Dark Chocolate Whiskey Ganache and Chocolate Whiskey Cupcakes with a Chocolate Whiskey Buttercream.

The end product was quite nice and everyone really liked it! So yay for me! :)


We decided to surprise him at twelve and it was a crazy surprise. We gathered below his building at twelve. All of us called him up to wish him, just to throw him off guard. Cliffy (his brother) had kept their house door open for us. We were ready with our gift basket and in-his-face cake!
We went into his room and cut the cake. But the fun part came next! As tradition goes, birthday bumps had to be given. So we took him downstairs and the boys took care of that!
While he was getting his bumps, the in-his-face cake was brought out from its hiding space and what happened in the next few moments will go down in history as one of the most epic cake smashes! Cliffy quite smartly has a video of the moment when Benston smashed the cake into Claytons face so hard that he flew backwards! The end product of it - Look below!
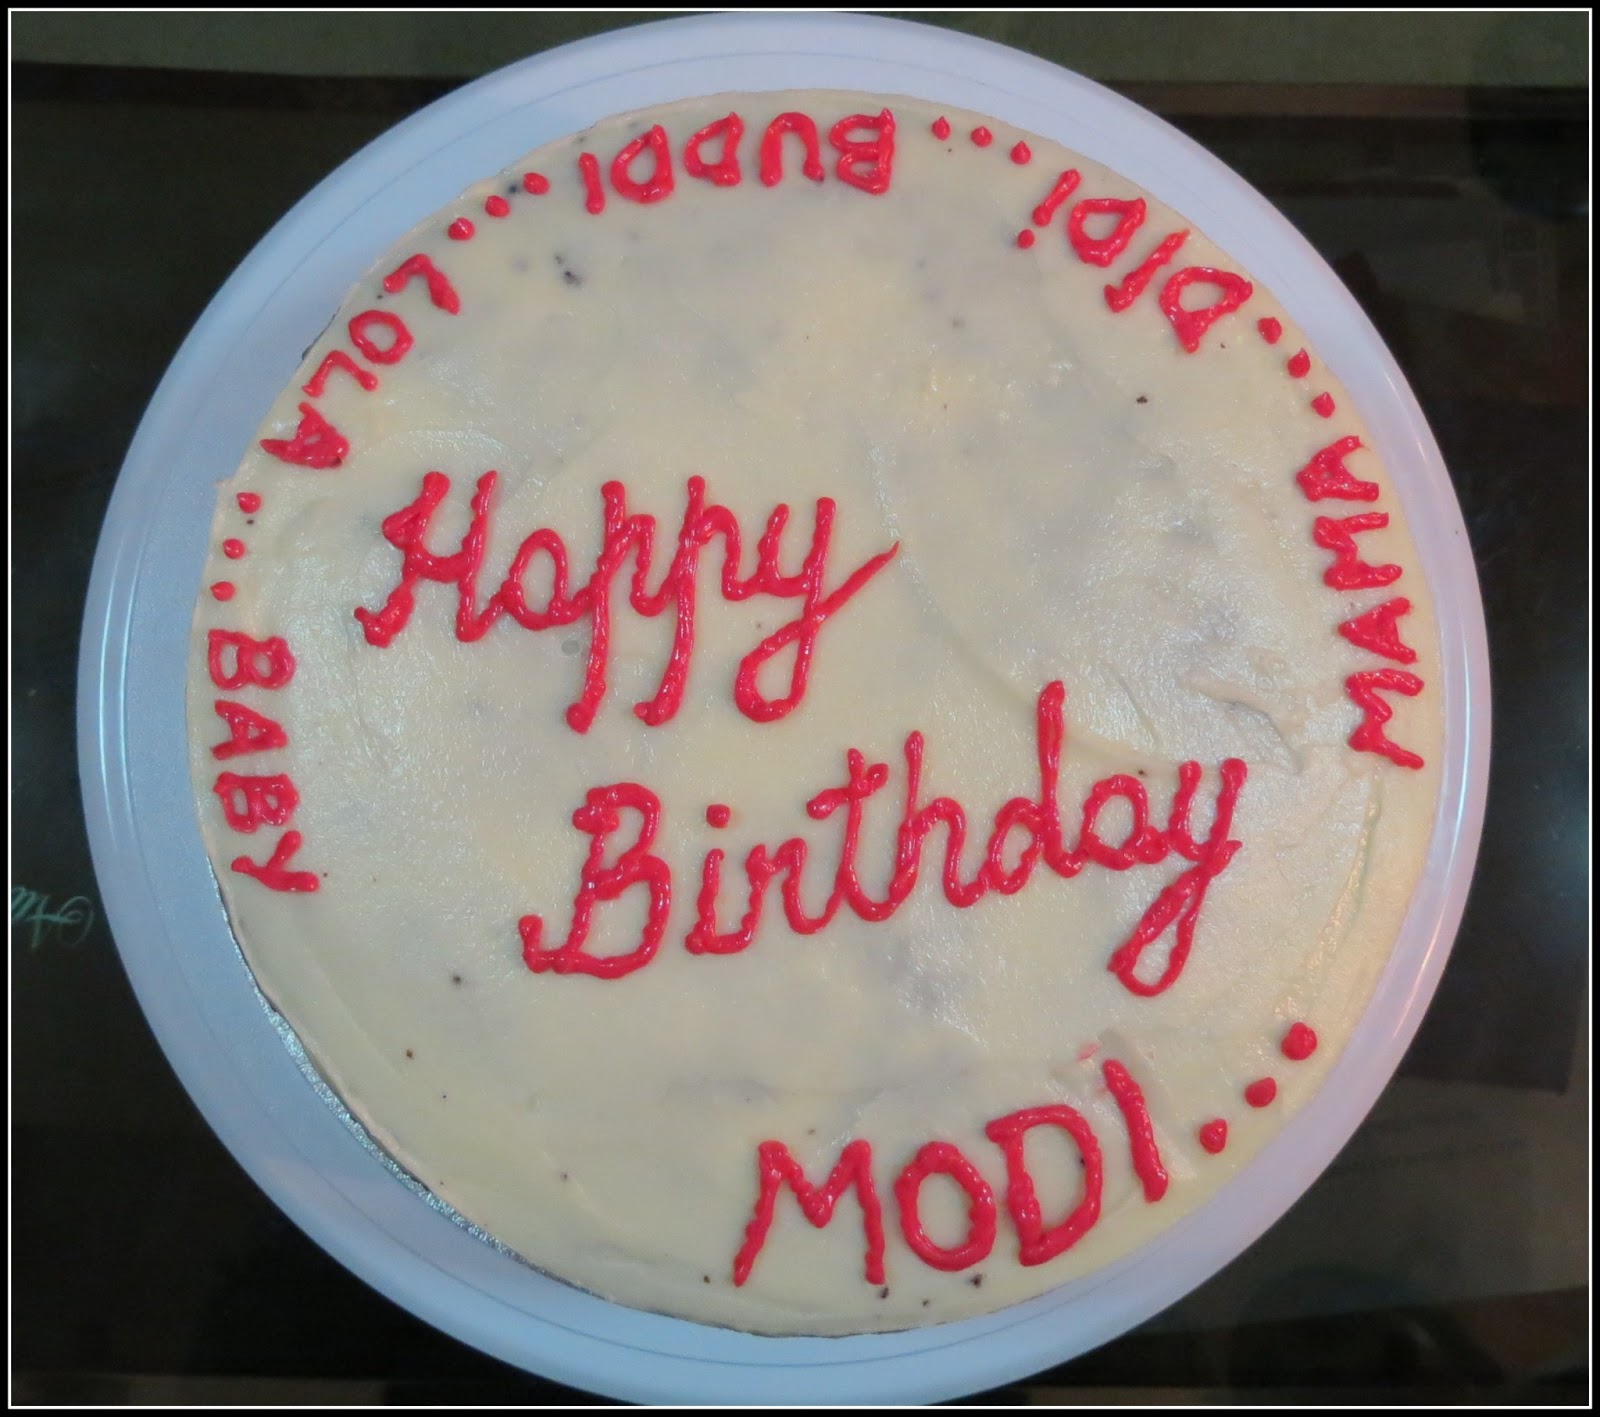
Behold the Cake Monster!
He then spent 20 minutes chasing us just so he could wipe the cake off on all of us!
All in all - it was a fantastic surprise! 

Happy Birthday Chubbs! Have a great one! And May God Always Bless you! Love ya!

Chocolate Cake with Dark Chocolate Whiskey Ganache

CAKE
(Source: http://www.confessionsofacookbookqueen.com/2013/04/mounds-layer-cake/)
2 cups sugar
1 cup cocoa powder
1 3/4 cups all purpose flour
1 1/2 tsp baking powder

1 1/2 tsp baking soda
1 tsp salt
2 large eggs
1/2 cup vegetable oil
1 cup buttermilk

3/4 cup boiling water

Pre-heat oven to 350F. Grease and flour the cake pans. In the bowl of your mixer, combine sugar, cocoa powder, flour, baking soda, baking powder and salt. Add eggs, oil and buttermilk and beat on medium speed for two minutes. Scrape sides of the bowl and stir in boiling water. Divide the batter into the cake pans and bake for 30 minutes or until tops spring back when lightly touched. Allow the cakes to cool in pans for 5 minutes, then remove to cool completely.


DARK CHOCOLATE WHISKEY GANACHE
(Source: http://fieldsofcake.com/jack-daniels-dark-chocolate-cupcakes-recipes-archive/)
16 ounces good quality dark chocolate. chopped into small pieces
3/4 cup heavy cream
2 tbsp unslated butter, softened
1/4 cup Jack Daniels Whiskey

Place the chocolate in a heat proof bowl and set aside. Heat heavy cream until just boiling and pour over chocolate. Cover chocolate and cream for 2 minutes to allow chocolate to soften. Uncover and stir with whisk until smooth and silky. Stir in butter until fully incorporated. Stir in Whiskey until fully incorporated, cool completely.


Chocolate J.D Cupcakes with Chocolate Whiskey Buttercream

CUPCAKES
(Source: http://fieldsofcake.com/jack-daniels-dark-chocolate-cupcakes-recipes-archive/)
1 cup all purpose flour
1.87 ounces cocoa powder
1 cup granulated sugar
1 tsp baking soda
1/2 tsp baking powder
1/2 tsp salt
1 egg
1/4 cup super strong coffee
1/4 cup Jack Daniels Whiskey
1/2 buttermilk
1/4 cup vegetable oil

Pre-heat oven to 350F. In a large bowl, stir the flour, cocoa powder, sugar, baking soda, baking powder and salt. In a separate bowl, combine the eggs, coffee, whiskey, buttermilk and oil. Pour egg mixture into the flour mixture and whisk until smooth. Spoon mixture into prepared cupcake cups. Bake in pre-heated oven for about 18-20 minutes. Cool completely.

CHOCOLATE WHISKEY BUTTERCREAM
(Source: http://www.thekitchenprepblog.com/2012/08/chocolate-whiskey-cupcakes.html)
1 cup butter, softened
3 tablespoons Jack Daniels Whiskey
4-5 cups confectioner's sugar
1/4 cup semi-sweet chocolate chips, melted and cooled
2-3 tbsp heavy cream

In the bowl of a stand mixer, beat butter and whiskey with the paddle attachment until light and creamy. Slowly add confectioner's sugar one cup at a time until fully incorporated, but not too dry. Beat in melted chocolate. Add cream one tablespoon at a time until frosting reaches desired consistency.


Notes:
  • The cake recipe is for three cake layers. I made only two thick layers.
  • You can use any whiskey you want. 
  • The temperature and time to bake differs from oven to oven. So you would need to set the temperature as per your oven and keep a check on it. 

Tuesday, July 23, 2013

Happy Birthday Mom!

Recently, I came across  "When God Created Mothers" by Erma Bombeck and I think she couldn't have put it in a better way: 

When the Good Lord was creating mothers, He was into His sixth day of "overtime" when the angel appeared and said. "You're doing a lot of fiddling around on this one."

And God said, "Have you read the specs on this order? She has to be completely washable, but not plastic. Have 180 movable parts...all replaceable. Run on black coffee and leftovers. Have a lap that disappears when she stands up. A kiss that cure anything from a broken leg to a disappointed love affair. And six pairs of hands."

The angel shook her head slowly and said. "Six pairs of hands...no way."

"Its not the hands that are causing me problems," God remarked, "it's the three pairs of eyes that mothers have to have."

"That's on the standard model?" asked the angel. God nodded.

"One pair that sees through closed doors when she asks, 'What are you kids doing in there?' when she already knows. Another here in the back of her head that sees what she shouldn't but that she has to know, and of course the ones here in front that can look at a child when he goofs up and say. 'I understand and I love you' without so much as uttering a word."

"God," said the angel touching his sleeve gently, "Get some rest tomorrow..."

"I can't," said God, "I'm so close to creating something so close to myself. Already I have one who heals herself when she is sick...can feed a family of six on one pound of hamburger...and can get a nine year old to stand under a shower."

The angel circled the model of a mother very slowly. "It's too soft," she sighed.

"But tough!" said God excitedly. "You can imagine what this mother can do or endure."

"Can it think?"

"Not only can it think, but it can reason and compromise," said the Creator.

Finally, the angel bent over and ran her finger across the cheek.

"There's a leak," she pronounced. "I told You that You were trying to put too much into this model."

"It's not a leak," said the Lord, "It's a tear."

"What's it for?"

"It's for joy, sadness, disappointment, pain, loneliness, and pride."

"You are a genius," said the angel.

Somberly, God said, "I didn't put it there."

Beautiful isn't it? And How true... all of that in one person! My Mom is all that and so much more. She's what we strive to be. Look how beautiful she is!


So it was the birthday of the most beautiful woman in my life on 21st July, and I just couldn't decide on what to bake. I knew that she loved coconut and so I decided to make the "Bounty Cake"!

Yes, the Bounty cake - delicious coconut filling sandwiched between two layers of chocolate cake and covered in a lightly flavored coconut frosting. (*sigh*)

I came across this recipe on Confessions of a Cookbook Queen a couple of months back when I scouting for a cake to bake for Ivon & Jacq's anniversary. And Mom loved it, so I went with it.

I was kind of short of time as I baked it after work, so the end product wasn't as pretty as it was the previous time. The frosting wasn't the right texture and I account that to me over beating the butter. I had to put a layer of frosting, put the cake in the fridge and then put another layer of frosting. But It still didn't cover the cake well! However, my cake layers were perfectly leveled and equal in size which was a first! So yay!

So anyways, There you go...the "Bounty Cake"! Happy Birthday MODI (Mom+Didi)!!

Yeah, My cousin Ivon's brilliant idea "MODI"!

We put all the names she is fondly called on the cake - Mama, Didi, Buddi, Lola and Baby!


Us..Goofing around!


Bounty Layer Cake

(Source: http://www.confessionsofacookbookqueen.com/2013/04/mounds-layer-cake/)

CAKE
2 cups sugar
1 cup cocoa powder
1 3/4 cups all purpose flour
1 1/2 tsp baking powder

1 1/2 tsp baking soda
1 tsp salt
2 large eggs
1/2 cup vegetable oil
1 cup buttermilk

3/4 cup boiling water

Pre-heat oven to 350F. Grease and flour the cake pans. In the bowl of your mixer, combine sugar, cocoa powder, flour, baking soda, baking powder and salt. Add eggs, oil and buttermilk and beat on medium speed for two minutes. Scrape sides of the bowl and stir in boiling water. Divide the batter into the cake pans and bake for 30 minutes or until tops spring back when lightly touched. Allow the cakes to cool in pans for 5 minutes, then remove to cool completely.


FILLING
14oz of shredded coconut
1 can sweetened condensed milk


In a large bowl, combine coconut and sweetened condensed milk. Refrigerate until ready to use.


FROSTING
1 cup salted butter, slightly softened
1/3 cup cream of coconut

1/4 cup heavy cream
3 cups powdered sugar

In the bowl of the mixer, beat butter, cream of coconut and heavy cream on medium speed until smooth. With the mixer set on low, slowly add powdered sugar. Once the powdered sugar is just barely mixed in, increase speed to high and beat for one minute until fluffy.


ASSEMBLING THE CAKE
Spread coconut filling between the layers. Frost with coconut frosting.


Notes:
  • The cake recipe is for three cake layers. I made only two thick layers.
  • For the filling, you can accordingly adjust the quantity of coconut and condensed milk to your liking.
  • The recipe says bake 350F for 30 minutes but this depends from oven to oven. So you would need to set the temperature as per your oven and keep a check on it. 
  • Keep uneaten cake stored in refrigerator.


Saturday, July 13, 2013

Gooey Chocolate Cake

A random cake recipe search brought me to Blogger Lindsay's "Pinch of Yum" Gooey Chocolate Caramel Cake and ever since that day I have had this cake on my mind. Trust me - it looked absolutely yummy!
I wanted to try it out for a very long time but was missing certain ingredients - Butter Flavored Shortening and Light Corn Syrup.

Light Corn Syrup ... never seen or heard of it before! So I looked for it and found it in Lulu Shopping Market. Corn Syrup is a thick sweet syrup which comes in both light and dark varieties, made from processed cornstarch. Light corn syrup has been clarified, while dark corn syrup has coloring and caramel flavoring added. I didn't manage to find light corn syrup, so I used dark corn syrup instead.

Hmm...Butter Flavored Shortening?! No idea what it even was... So I turned to my trusted friend Google!
What is Shortening? - Shortening is any fat that is solid at room temperature and used to make crumbly pastry. Shortening has come almost exclusively to mean hydrogenated vegetable oil. Its a semi-solid fat with higher smoke than butter and margarine. It also contains less water and are thus less prone to splattering. Shortening has a higher fat content compared to about 80% for butter and margarine. It also requires no refrigeration.
Butter Flavored Shortening - Well, shortening with butter flavor! Simple!

So I sent my dad out on the task to locate Crisco's Butter Flavored Shortening, since my research said Crisco was the most famous company for Shortening. After looking high & low (in shopping aisles), he found it at Al Fair! Yay!


I just needed an opportunity to try the recipe and found one last Saturday. My baby brother, Gerald was down from College and had been complaining to Relissa that I never bake when hes around. Also, my cousin Ivon, his wife Jacqueline and my baby niece, Isabella stayed over. So it was the perfect time to bake!

Mix all the dry ingredients together...


Then cut the shortening into the dry ingredients and mix with your fingers until it forms fine crumbs...

To finish it off, add the butter and milk to this mixture...and keep aside.


Moving on to the Caramel: Follow the instructions as below...and Voila! Just look at that...(*sigh*)!!


 Finally, its time to assemble the cake: First a layer of the cake mix, then cover it with chocolate chips!

Time for our yummy caramel...

Finally, cover it with the rest of the batter and its ready to be baked!


 Approximately 30 minuted later.... the gooey indulgence is ready!

Look at that beautiful caramel...bubbling to the surface!

This is definitely not your traditional cake! Its fudgy and incredibly gooey!

I know it looks like a mess...but trust me its a delicious mess!


 Top some of the warm cake with cold vanilla ice-cream! Perfecto!

My first Victim: Ivon! (*evil laugh*)

My baby girl Isabella wanted some too!


Goofing around! :)

There you have it folks - Gooey Chocolate Cake with Caramel! Absolutely sinful!

Gooey Chocolate Cake with Caramel

(Source: http://pinchofyum.com/gooey-chocolate-caramel-cake )

CAKE
2 cups flour
1 1/2 cups white sugar
2/3 cup unsweetened cocoa powder
1 tsp baking soda
3/4 tsp salt
2/3 cup butter flavored shortening
1/2 cup unsalted butter, very soft or melted
1/2 cup milk


Mix the flour, sugar, cocoa, baking soda and salt. Stir until well combined. Cut the shortening into the flour mixture (use fingers) until very fine crumbs form. Add the unsalted butter and milk, mix until a thick dough forms.


CARAMEL
1/2 cup salted butter
2 cups packed light brown sugar
1/2 cup light corn syrup
1 tsp salt
1/2 tsp baking powder


Melt the salted butter over medium low heat. Add the brown sugar, corn syrup and salt, bring to a very low boil, stirring constantly. Let it cook over very low, gentle heat, so that the mixture is just barely bubbling if at all. After about 10 minutes, remove from the heat and stir in the baking powder. The caramel will foam and bubble - stir or whisk until its thick and creamy and mostly smooth.


ASSEMBLING THE CAKE
Preheat the oven to 350 F. Spread half of the batter on the bottom of your baking dish. Cover with chocolate chips and a layer of caramel. Spoon the rest of the dough over the caramel layer and spread until the pan is evenly covered. 

Bake for 25-30 mins, depending on your pan size. Remove from the oven and let it stand for a few minutes before serving. 


Notes:
  • Heat the caramel just enough so that it thickens slightly.
  • I used a big oval tray so the cake layers were too thin. I would recommend using a smaller tray (~ 9-inch).
  • The recipe says bake 350F for 20 minutes but this depends from oven to oven. So you would need to set the temperature as per your oven. 
  • Store at room temperature. It will firm up a bit as it rests.


Saturday, June 1, 2013

Hazelnut Overload....

I'm usually not a great fan of chocolates with nuts...but my only exception is Ferrero Rocher and Nutella. And yes, I'm going to break into song now!


"But Darling, 
You are the only exception
You are the only exception"
(Picture Courtesy: Wikipedia)

Did you know that Ferrero Rocher and Nutella are manufactured by Ferrero SpA, an Italian manufacturer of Chocolate and other confectionery products. It was founded by confectioner Pietro Ferrero in 1946 in Alba, Piedmont, Italy. And that's not all, they are also the manufacturers of Confetteria Raffaello, Kinder and Tic-Tac!

Some more interesting trivia, this company is all about secrecy. They do not allow plant visits or press conferences and even their manufacturing equipment is designed by the in-house engineering department. Talk about secrecy!

So moving on, I was looking for cupcake recipes for Meli's Birthday back in February and I found this recipe on http://www.bakerita.com/ferrero-rocher-chocolate-cupcakes/ for Ferrero Rocher Stuffed Chocolate Cupcakes with Nutella Buttercream. It was really simple and the idea of Ferrero Rocher + Chocolate + Nutella just blew my mind. So I decided to give it a try and it was a hit! Everyone loved it!
(Model: Sydelle Estebeiro, Hand Model: Aleron Nunes)

I also made an Oreo cake after seeing a recipe on the same site, unfortunately whipped cream isn't my friend as you know and the cake didn't turn out the way it should have. But nevertheless Meli loved it, that's what mattered the most. 
So anyways, I wanted to make something for my colleagues and thought this would be the perfect recipe. Simple to make and tasty!


The Core Ingredient (like literally)- Ferrero Rocher


I used my go-to chocolate cupcake recipe rather than the one by bakerita. So in went the dry ingredients...
  
Added the wet the ingredients...

And Voila Approx. 20 minutes later...


Look at that perfect cross section....


And the best part, my colleague Ali Taya gave one of the cupcakes to his sister Asma who posted it on Instagram and it got 81 likes! Wohoo to me!

Ferrero Rocher Stuffed Chocolate Cupcakes with Nutella Buttercream

Makes 12 Cupcakes

CUPCAKES
1/2 tsp baking soda
1/4 cup buttermilk 
3 heaping Tbsp cocoa
1 stick butter
1/2 cup water
1 cup sugar
1 cup flour
1/4 tsp salt
1 egg
1/2 tsp vanilla

In a small bowl, dissolve baking soda in room-temperature buttermilk.  In a saucepan, melt butter and cocoa together at a low temperature.  When smooth, add water.  In a separate bowl, sift together sugar, flour, and salt.  Add cocoa mixture and egg and mix at low speed.  Add buttermilk mixture and vanilla and beat until smooth.  


Divide the batter evenly into the prepared cupcake molds. Press one Ferrero Rocher into the center of each cupcake. Try to cover the chocolates with batter by nestling it (though it might not get covered completely). Bake at 350F for 20 minutes or until inserted toothpick comes out clean.

Once cool, frost generously with Nutella Buttercream.

NUTELLA BUTTERCREAM
2 sticks unsalted butter, softened and cut into cubes
4 cups confectioners' sugar
1 tablespoon heavy cream
2 teaspoons pure vanilla extract
1/2 cup Nutella

Pinch of Salt

In a bowl, whip butter for 5 minutes until very pale and creamy. Add remaining ingredients and mix on low speed for 1 minute and then on medium speed for 5 minutes. Frosting will be very light, creamy and fluffy.


Notes:
  • There might be a slight indent in the middle of the cupcake because of the Ferrero Rocher's, but that's perfectly okay.
  • The recipe says bake 350F for 20 minutes but this depends from oven to oven. So you would need to set the temperature as per your oven. 

Monday, April 29, 2013

Rainy Days

So what do you do when its a lazy Saturday afternoon and its 27°C, rainy and cold outside...

Traditionally in Oman, I would curl up in a chair and bury myself in a book. But, with the sudden change in climate here over the past week, I spent hours together watching the rain through my window.

Don't you just love the rains! How it makes everything seem so much more cleaner! How the grass and trees seem so much more greener! I love how the rain envelopes everything and the smell of the soil (*sigh*)!

Monsoons! That's what I miss the most about Goa! I miss walking in the pouring rain(in a rain coat) or just standing in the Balcony taking in the view and watching the approaching rain clouds!


What a view! I miss it!

Anyways, moving on - So cooped up at home, pouring rain and a new mini doughnut pan! What does one do??!!

Well, bake some doughnuts to accompany your hot coffee (I just need an excuse)!

Doughnuts are usually deep-fried. But since I'm all about health (You think?!), I looked for recipes for baked doughnuts! My search brought me to http://www.mysanfranciscokitchen.com! What caught my attention was that Kistianne, the writer behind My San Francisco Kitchen said that each mini chocolate doughnut is just 60 Calories! "Wohoo!" Said the tiny calorie conscious part of me! So I decided to give it a go!

All the ingredients in the bowl...

My prepared brand new pan filled with the batter and ready for the oven!

And about 10 minutes later.....


Hello, there doughnut!


As Chandler Bing says, Round food for every mood!

So Simple and easy to follow - and the added benefit of each doughnut being just 60 calories - makes this recipe a must-try!

Baked Mini Chocolate Donuts
(Source: http://www.mysanfranciscokitchen.com/baked-mini-chocolate-donuts/)

Ingredients:
3/4 cup all-purpose flour
1/4 cup unsweetened cocoa powder
1/3 cup granulated sugar
1 tsp baking powder
1/4 tsp salt
2 tbsp plain yogurt
1/4 cup milk
1 egg
3 tbsp vegetable oil
1/4 tsp vanilla extract

Directions:
Preheat oven to 375F.
Whisk dry ingredients together in a mixing bowl.
Add all remaining ingredients and stir well, until smooth.
Prepare mini doughnut pan and fill 3/4 full with batter.
Bake for 10 minutes (varies from oven to oven), until donuts spring back when touched lightly with your finger.
Let the doughnuts cool before adding any glaze.

Note:
The chocolate in this is very subtle and the doughnut would taste amazing with a chocolate glaze.(as Kistianne's recipe)